

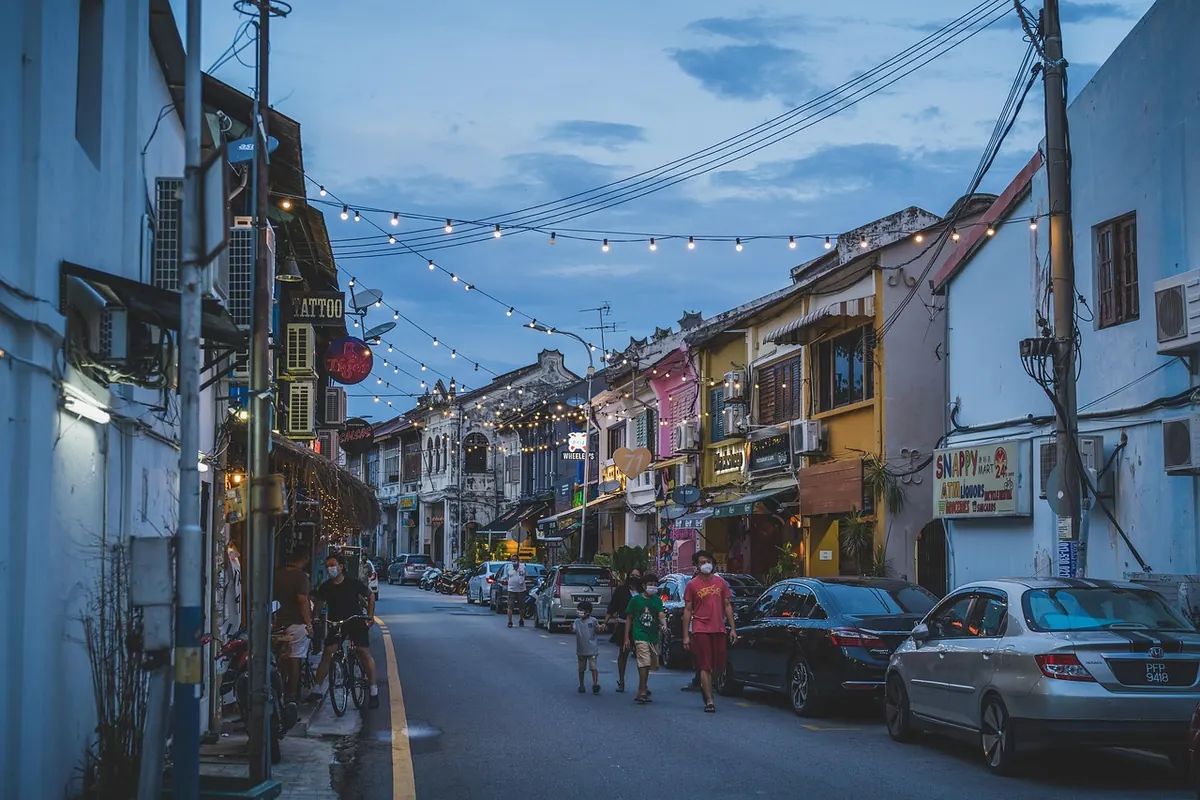
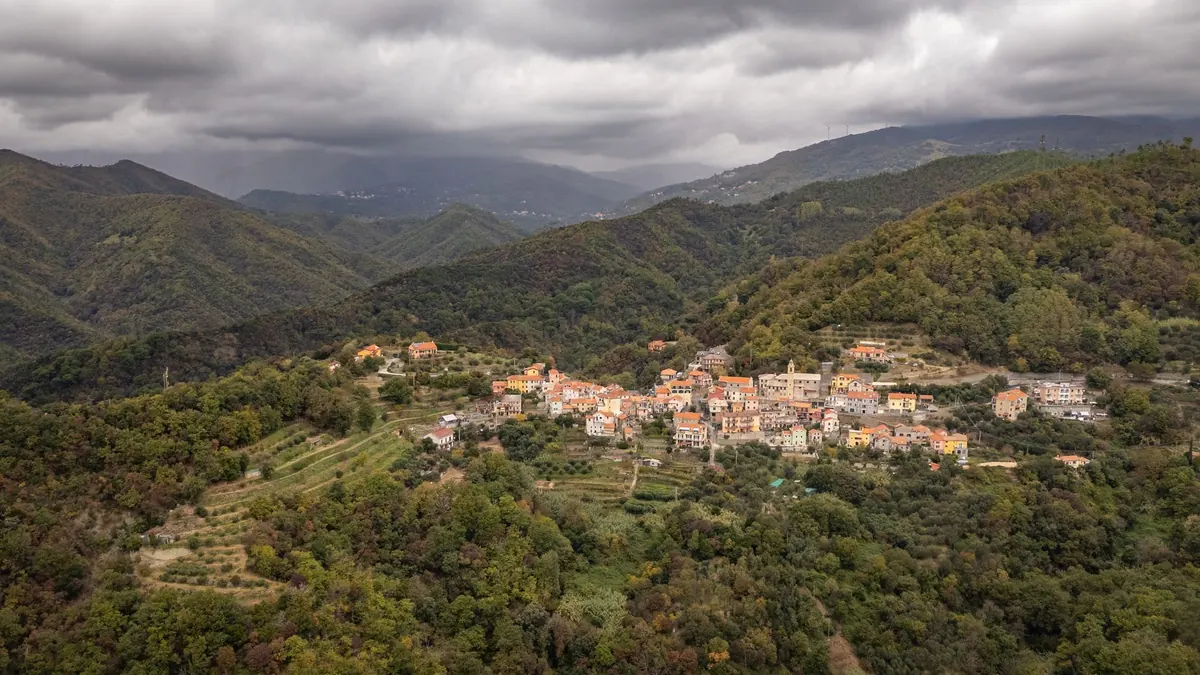
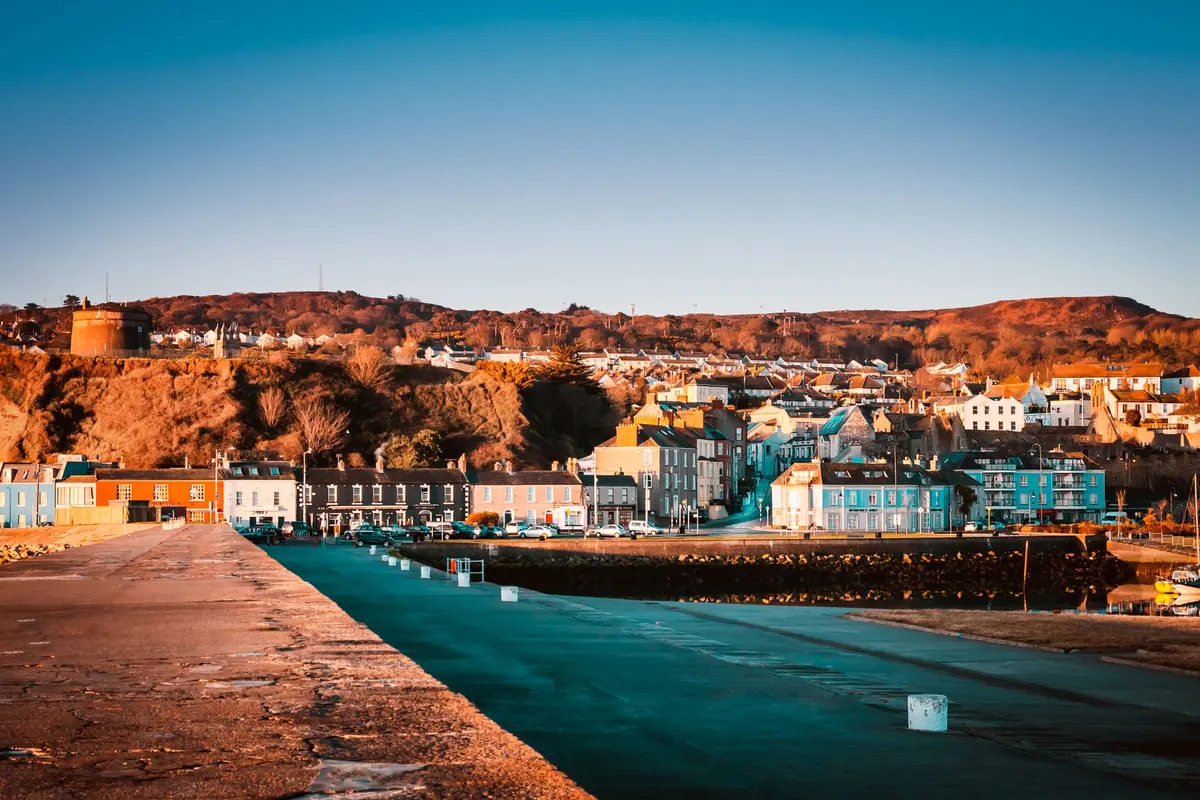
Golden hour in a small coastal town is short and unforgiving. The sun drops behind a ridge, the harbour wall throws a shadow across half the quay, and the light you drove three hours to find is gone in twenty minutes. The good news is that small towns are easier to photograph than big ones: everything is within walking distance, the buildings are low enough to catch the light, and water does half the work for you by bouncing warmth back into the shadows. What follows is the routine that keeps those twenty minutes productive instead of frantic.
Why small harbours suit this light so well
Low sun and small fishing ports are a natural pair. Facades are usually painted in pale colours — chalky whites, faded ochres, rust-red shutters — and those surfaces hold warm light beautifully without blowing out. Boats add vertical shapes and masts, which pick up rim light when you shoot towards the sun. Stone quays and cobbles show texture that flat midday light erases entirely.
The scale also matters. In a town of four streets you can scout the whole place in half an hour, find two or three compositions you actually like, and return to them as the light moves. In a city you spend that half hour walking. Treat the compactness as an advantage: pick your spots early, then let the light come to you rather than chasing it.
Timing: work backwards from sunset and check the tide
Sunset time is a starting point, not an appointment. The dependable window usually runs from about forty minutes before sunset to twenty minutes after, with a softer, cooler blue phase following for another half hour if you have a tripod and the patience. Arriving ninety minutes early is not excessive — it gives you time to walk the harbour, note where the sun will fall, and eat something before you start.
Two local factors change everything. First, the horizon: in a town set in a cove or beneath a hill, the sun can disappear well before the official sunset time, so the usable light ends abruptly. Watch the day before, or check a sun-position app for the exact azimuth and the height of the terrain. Second, the tide. Wet sand and wet cobbles reflect the sky and double your colour, but a high tide may close the beach access you were counting on, and a low tide may expose mud and weed you would rather not have in the foreground. A tide table is as useful as a light meter here.
Read the sky before you commit
High, thin cloud spreads colour across the whole sky; a flat grey overcast mutes everything; a clear sky with no cloud gives you a fast, clean, slightly cold gradient. Broken cloud after a front has passed is often the best of the lot, because gaps let warm light hit the town while the rest of the sky stays dramatic. If the sky is completely closed, spend the evening scouting instead and come back at dawn.
Camera settings that keep you out of trouble
Golden hour light is bright enough to handhold and changing fast enough that fumbling costs you the shot. Set up before the light gets good, then adjust in small steps.
- Shoot RAW. Warm highlights and cool shadows are much easier to balance afterwards, and you can pull detail out of a bright sky.
- Aperture around f/8 to f/11 for harbour scenes where everything from the mooring ring to the far headland should be sharp. Open up to f/2.8 or f/4 only when you want a single boat or figure isolated against a soft background.
- Base ISO when the camera is on a tripod. Raise it to 400–800 if you are handholding and the shutter speed starts to drop below about 1/125 second.
- Expose for the sky. Use highlight-weighted or spot metering on the brightest part of the sky and check the histogram — if the right edge is clipping badly, shorten the exposure and lift the shadows later.
- Auto ISO with a minimum shutter speed is a reasonable safety net when you are moving between sunlit quay and shaded alley.
- A polariser deepens a blue sky and cuts glare on wet stone, but on a wide lens it can darken one corner of the sky unevenly. Rotate it, check the corners, and leave it off if the gradient looks wrong.
- Bracket three frames a stop apart when the sky is far brighter than the harbour. It costs nothing and saves the high-contrast shots.
Composition: use the light direction, not just the view
Before you frame anything, ask which way the light is coming. Side light rakes across stone and painted wood and shows texture; backlight gives you glowing masts, haloes around people's hair and silhouettes of gulls; front light is flat and rarely worth much at this hour. Walk the same hundred metres in both directions and the town will look like two different places.
Then find a foreground. A coil of rope on the quay, wet pebbles, a crates-and-buoys corner, the bow of a dinghy — anything close to the camera that gives the eye a starting point and adds depth. Use the harbour wall or breakwater as a leading line towards the open water, and get low so the reflection stretches. A person walking a dog at the far end of the pier gives scale and life; two people standing in the middle of your frame doing nothing give clutter.
One habit worth building: after you take the shot you planned, turn around. The best light in a coastal town is often behind you, warming the facades while everyone photographs the sun going down.
Avoiding the crowd without losing the atmosphere
Small towns still fill up at sunset, especially along the main promenade and any terrace facing west. Move sideways rather than away: one street back, one pier further along, the top of the steps rather than the bottom. Ten minutes of walking usually empties the frame.
Timing helps more than technique. Evenings are busiest on weekends and in high summer; early morning golden hour is almost always quieter and gives you a different, calmer town. If you want the harbour to yourself with warm light on the boats, that is the trade to make.
When the crowd is unavoidable, use it. Wait for the gaps and shoot in bursts. Alternatively, stop down, put the camera on a tripod and use a two- to ten-second exposure with a strong neutral density filter: moving figures blur into soft streaks while the buildings stay sharp. Shooting into the low sun turns people into silhouettes, which can be the picture rather than the problem.
A simple field routine
Arrive early, walk the town without the camera out, and note three viewpoints: one wide harbour shot, one detail, one street or alley. Set up at the first before the light peaks, work quickly through the others as the colour builds, and stay twenty minutes past sunset for the cooler afterglow. Keep a note of the tide and the time, because the same town will look entirely different on your next visit with a lower sun and a higher sea. Then put the camera down for a minute and just look at it — that is usually when you notice the shot you actually came for.
Photo: O Emmanuel / Pexels
Related posts
More stories you’ll love reading